
Everyday Use, Storage and Maintenance
As discussed in our article Inflatable Kayaks: The Complete Guide, we covered what’s involved in setting up and packing down an inflatable kayak.
For many people, that overview is enough. But if you’re thinking beyond that first use, how easy the kayak is to transport, store, and live with over time becomes just as important. In practice, small details like packed size, carry systems, weight, and storage requirements can make a noticeable difference to how often you actually use your kayak.
This section takes a closer look at those practical considerations, so you know what to expect day to day and what to look for when comparing different designs.
If you’ve already read the complete guide, feel free to skip ahead to our Packed Size and Transport section. If not, read on.
Set Up and Pack Down
One of the biggest advantages of inflatable kayaks is portability. They can be packed into a bag, transported easily, and stored in places where a traditional kayak simply wouldn’t fit.
Inflatables do need to be set up before paddling though. Because of this, good design (and a good pump, preferably electric) becomes vitally important to reducing the mental barrier to getting on the water. We’ve seen this make a big difference in real-world use. If setup feels like a chore, people paddle less often. If it’s quick and easy, they go out far more regularly. Inflation points should be easy to access, and components like seats and skegs should attach quickly and securely.
When everything is designed well, the transition from bag to water can take only a few minutes. Below, we’ll look at what to expect when setting up and packing down an inflatable kayak.
Set Up: What to Expect
Setting up an inflatable kayak is usually a simple and predictable process.
In most cases, it involves three main steps: unpacking the kayak, inflating it, and attaching any removable components such as seats or skegs.
Once the kayak is unpacked, inflation is usually the main part of the setup process.
In general, inflation takes around 3–8 minutes, depending on the size of the kayak, the number of inflation points, and critically the type of pump being used.
Manual high-volume pumps are a common choice and can be surprisingly quick with a good design. Pumps with large cylinders move more air with each stroke, so many kayaks can be inflated in just a few minutes, although it does require some physical effort.
Electric pumps take a different approach by doing the work for you. Most include built-in pressure sensors, allowing you to set the desired pressure and inflate the kayak at the press of a button. Some run from a 12V car outlet, while others are rechargeable via USB-C and can be used anywhere. Modern rechargeable pumps are great and worth the investment to simplify setup.
As mentioned, a key factor that can influence setup time is the number and type of inflation points. Kayaks with multiple chambers spread all over the hull can take longer to inflate and may start to feel a bit tedious over time. It’s also worth checking whether all valves use the same fitting, as needing to switch pump adaptors mid-setup can quickly become frustrating. Some designs even rely on mouth inflation for certain chambers, which can be awkward and typically won’t allow for higher pressures, resulting in a less firm and responsive structure once on the water.
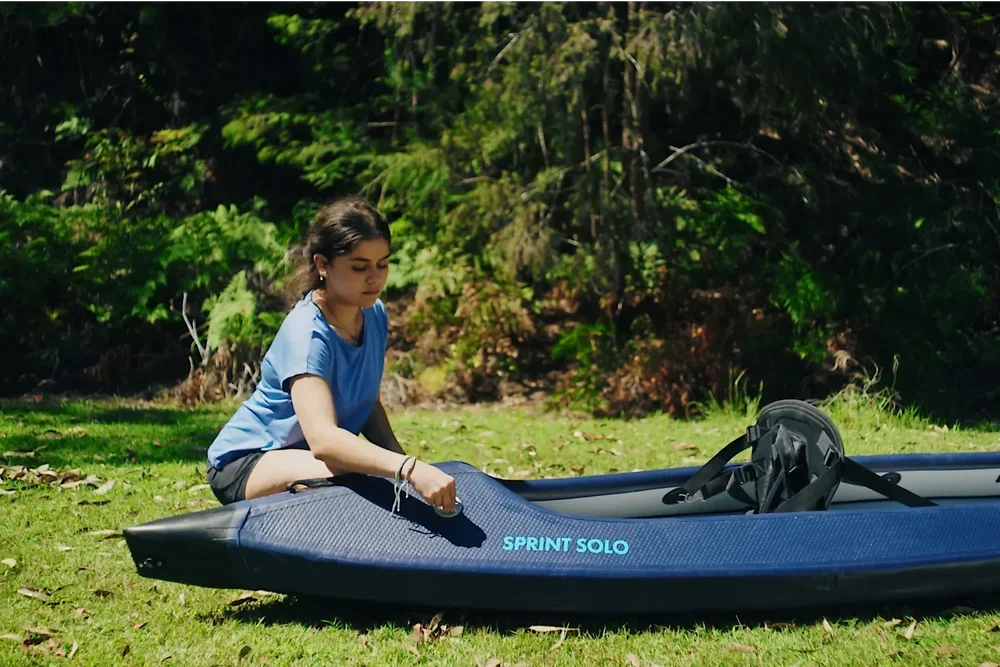
The final step is attaching removable components such as the skeg, seats, or footrests. Well-designed fittings should clip or slide into place easily and feel secure once attached. If you have a rechargeable pump this can be done whilst inflation is in progress.
Once these components are in place, the kayak is ready to launch.
Pack Down
Packing down is often overlooked , but in practice it makes a big difference to your experience. One thing to consider when comparing pack down times is that a PVC kayak can simply be wiped down and packed away whereas a mesh kayak needs to be left out to dry.
From there, the process to packdown is simple. You will start by removing any components such as the fin, seats, footrests.
If you’ve been paddling in saltwater, the kayak should be rinsed with fresh water before long-term storage. Even after freshwater paddling, allowing excess water to drain away and wiping down wet areas can help keep the kayak in good condition. If you have a PVC kayak you can then just wipe it down.
Most modern kayaks have valves that release air quickly once opened, so that much of the air escapes within a minute or two. Many paddlers simply allow the air to flow out naturally, although some pumps can also be connected in reverse to actively pull air out of the kayak. This can make the kayak easier to pack and help it fit more comfortably back into the bag.
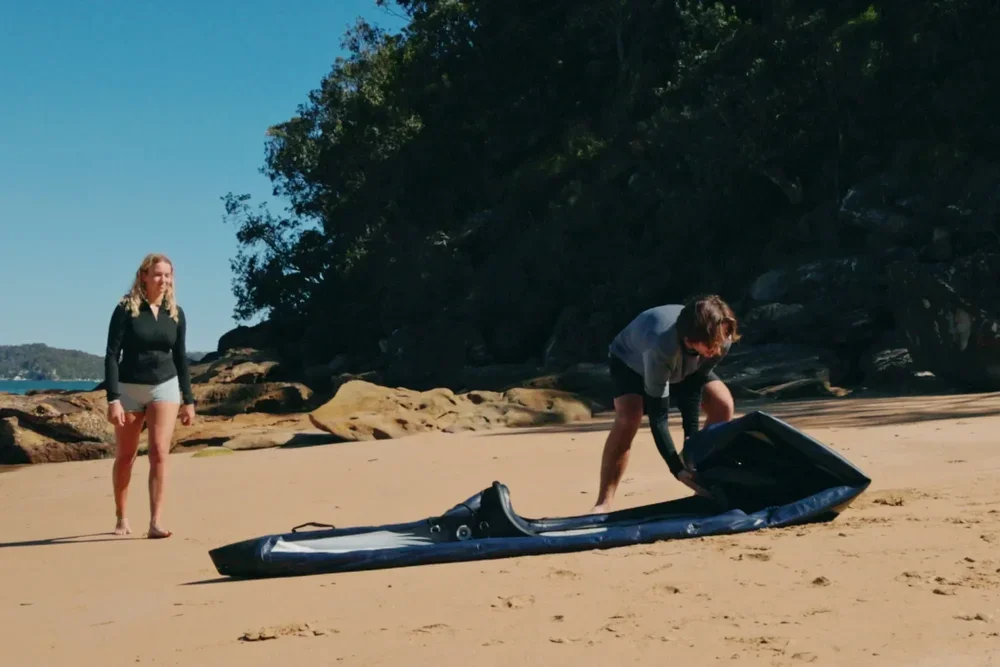
The final step is rolling or folding the kayak so it fits back into its bag. The key is simply removing as much air as possible first. Rolling is often easier than folding because it pushes out any remaining air as you go. It’s best to follow the manufacturer's guidance on this.
Some carry bags are designed with a bit of extra space, it’s best to look out for those as small bags can make it difficult to pack away.
For most paddlers, pack down ends up being a simple final step at the end of a day on the water.
Packed Size and Transport
One of the biggest advantages of inflatable kayaks is how easily they fit into everyday life.
Once deflated and packed away, most kayaks fit into a carry bag or backpack-style bag, making them far easier to transport than traditional hard-shell kayaks. There’s no need for roof racks or trailers, they can usually be placed in the boot of a car, stored in a cupboard, or carried to the water without much difficulty.
That said, not all carry bags are created equal, and this is something that becomes more noticeable the more you use the kayak.
A well-designed bag should be slightly oversized rather than tightly fitted. This gives you space to pack the kayak without having to be overly precise, and also allows room for additional equipment like paddles, pumps, or accessories. Bags that are too tight can quickly become frustrating, especially when you’re packing down at the end of a long day.

Strap design also plays a big role. Backpack-style straps with decent padding make a noticeable difference, particularly if you’re walking any distance to the water. Single-strap bags tend to be less comfortable and can put uneven pressure on one shoulder, which becomes more noticeable with heavier kayaks.
For larger or more heavily built kayaks, wheeled bags can be a very practical option. Once weight starts to increase, being able to roll the kayak rather than carry it can make a big difference, especially over longer distances or uneven ground.
Weight itself can vary quite a bit depending on the kayak’s construction. Very lightweight kayaks under 18lbs are easy to carry but are often made from thinner materials, which can affect durability and rigidity. Many lightweight performance inflatables fall into the 18–29 lbs range, offering a good balance between portability and strength. Larger kayaks, particularly tandems or heavily reinforced designs, can weigh anywhere from 29–55 lbs, prioritising durability and carrying capacity.
Even at the heavier end of that range, most paddlers still find inflatable kayaks significantly easier to transport and store than rigid boats.
Repairs and Maintenance
Although inflatable kayaks are built to be durable, minor repairs can occasionally be part of owning any inflatable watercraft.
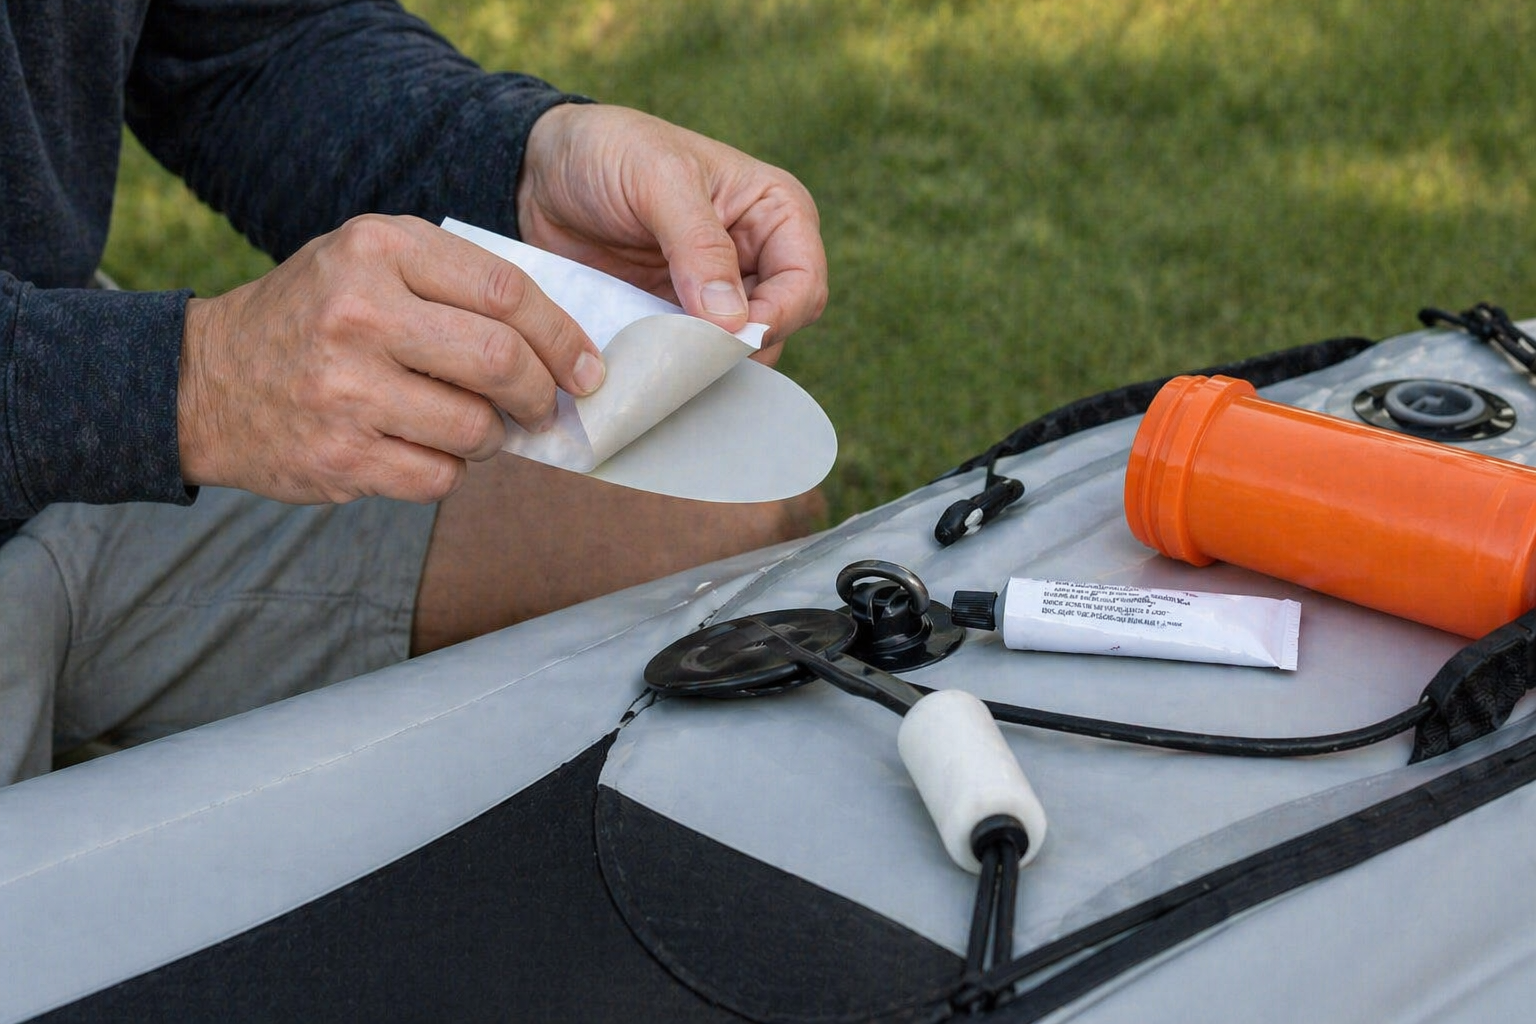
Small punctures or slow leaks, while uncommon in high quality inflatable kayaks, are usually straightforward to repair using simple patch kits designed for the kayak’s material. These repairs are very similar to fixing a puncture in an inflatable camping mattress or airbed and can normally be completed in a short amount of time.
Many inflatable kayaks are compatible with standard PVC repair kits, and manufacturers often provide repair materials or guidance if needed. Once properly applied, a repair patch can be extremely strong and long lasting.
It’s also worth remembering that inflatable kayaks are typically built with multiple independent air chambers. This adds an extra layer of safety, as even if one chamber were to lose pressure, the remaining chambers help keep the kayak afloat and stable.
For most paddlers, repairs are rarely needed. However, knowing that simple fixes are possible provides peace of mind and ensures that a small issue doesn’t have to end a day on the water.
Summary
Although these are the details that don’t always stand out at first, they quickly become important the more you use your kayak.
When set up, pack down and transport is easy, storage is straightforward, and maintenance feels manageable, it makes it far more likely that the kayak actually gets used regularly.
In many ways, this is what turns a kayak from something you own into something you use often.
Looking for more info
Check out our article Inflatable Kayaks: The Complete Guide for a comprehensive overview of inflatable kayaks, how they are made and what makes one inflatable kayak different to another. Alternatively, if you want to find the right tandem kayak for you, check out our guide 2 Person Inflatable Kayaks.
Our global customer service team are knowledgeable and always happy to help. If you have any further questions please feel free to call or emails us. Details can be found on our contact page.
We’ve also designed this online guide to help make the process easier, and match you with the inflatable kayak we believe best fits your needs.